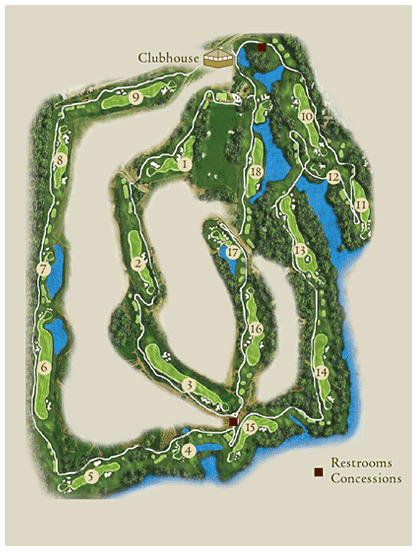
- Layout
- Hole 1
- Hole 2
- Hole 3
- Hole 4
- Hole 5
- Hole 6
- Hole 7
- Hole 8
- Hole 9
- Hole 10
- Hole 11
- Hole 12
- Hole 13
- Hole 14
- Hole 15
- Hole 16
- Hole 17
- Hole 18
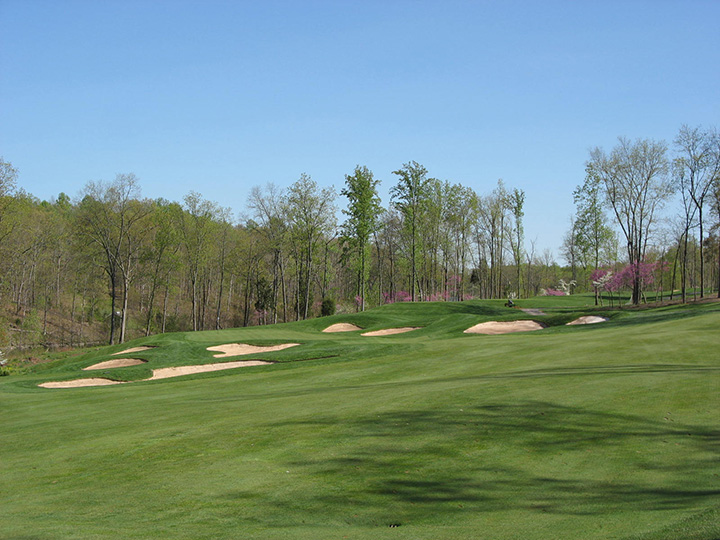
Stretching just over 7,000 yards from the back tees, this par 72 championship Virginia golf course is skillfully designed to maintain the integrity and natural surroundings of this pristine setting. The award-winning golf course offers five sets of tees to offer golfers of all abilities a challenging yet playable golf round. The course is tied together with artfully shaped bunkering and immaculate tees, fairways and greens.
Perfect your driving precision at the 25-station grass tee driving range, offering target greens to enhance your practice experience. Golfers may hone their putting, chipping and pitching skills prior to a tournament or casual round on one of the two short game greens or the expansive putting green.
CLICK HERE TO DOWNLOAD A COPY OF OUR CURRENT SCORECARD
Playing Tip For Hole 1
Hole No.1 – Stone House
A short uphill dog-leg, right par 4. Keep your drive left of the fairway bunkers, but watch out for the OB on the left. a mid-to short-iron second shot to an expansive green will await you. Try to avoid the lone bunker to the right of the green, to get off to a good start.
Playing Tip For Hole 2
Hole No.2 – Buck Hill
An uphill slight dog-leg, left par 4. The optimum tee shot is to the right of the bunkers at the crest of the hill. Your short-iron approach shot will be uphill with OB on left of the green. The front right bunker is short of the green, so select enough club to clear it and sink the putt.
Playing Tip For Hole 3
Hole No.3 – Cemetery Ridge
Keep your tee shot right of the bunkers on this dog-leg, left par 5. A second shot short of the fairway bunker on the right is the optimum play. However, you long hitters should pay your condolences to the cemetery on your left before going for it. The green slopes left to right.
Playing Tip For Hole 4
Hole No.4 – Cub Run
This sadistic par 3 requires you to select enough club to clear the ravine then pray you stay out of the bunkers. The hole placement will dictate the shot with the green sloping form right to left.
Playing Tip For Hole 5
Hole No.5 – Sharpshooter
A stunning par 4 that will require you to thread your tee shot through the trees and bunkers. The farther up the hill with your drive, the better your view will be to the green. A mid-iron approach shot, to a well protected green, that slopes from right to left awaits you.
Playing Tip For Hole 6
Hole No.6 – Rogues Road
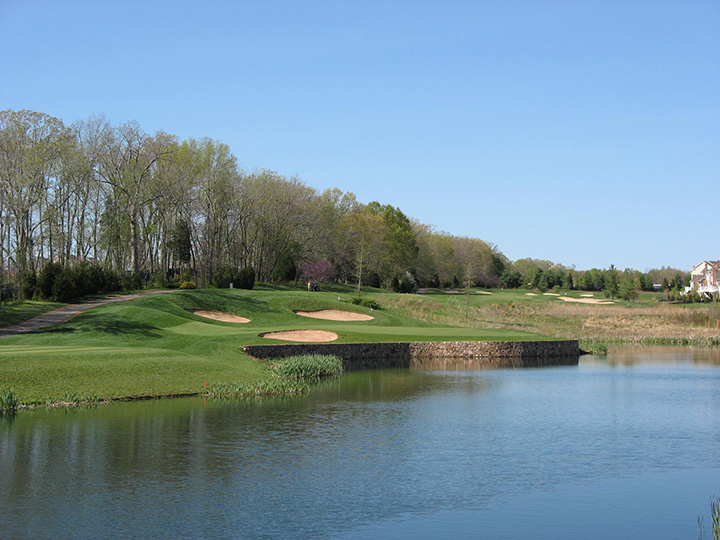
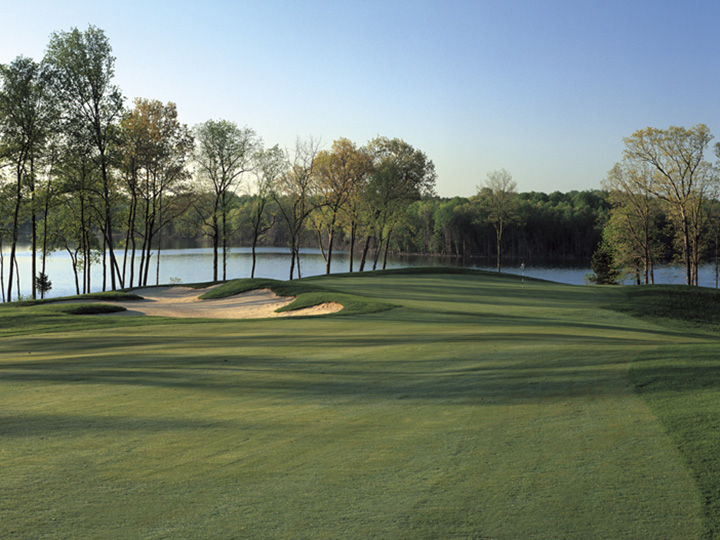
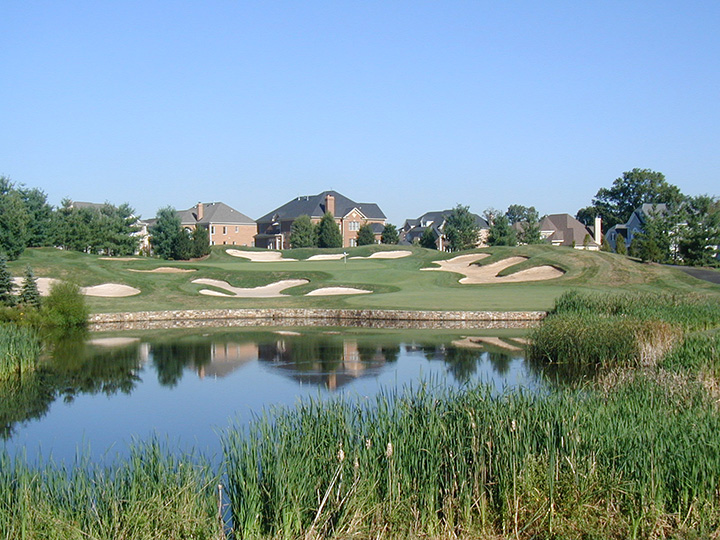
An intimidating par 5 with OB on the right. A good drive left of the bunkers will leave you thinking about the water ahead on the right and crossing in front of the green. Lay up far enough back from the water to ensure a full swing into the green. Take enough club for your approach shot, anything landing on the fringe short of the green has a good chance of rolling back into the water. A two tiered green that slopes from back to front is your final challenge.
Playing Tip For Hole 7
Hole No.7 – Little Sorrel
A mesmerizing par 3 with danger looming everywhere. Take enough club and do not be a hero if the flag is tucked to the right. The water, bunkers and mounding frame this hole beautifully with the green sloping from left to right.
Playing Tip For Hole 8
Hole No.8 – Carolina Road
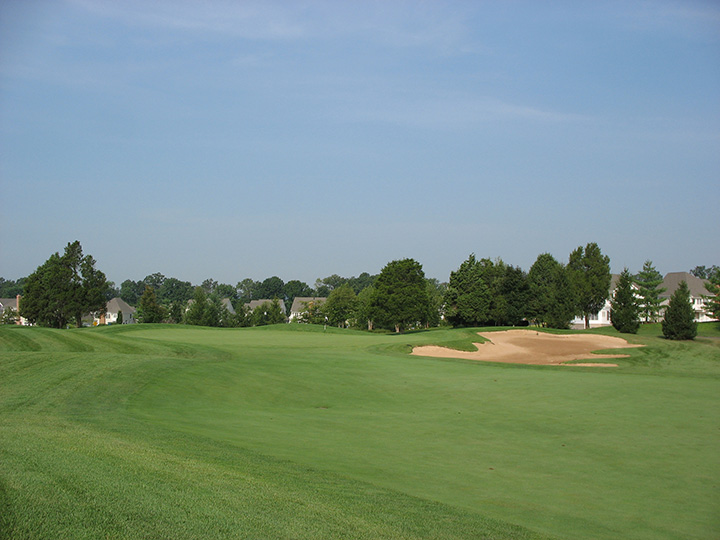
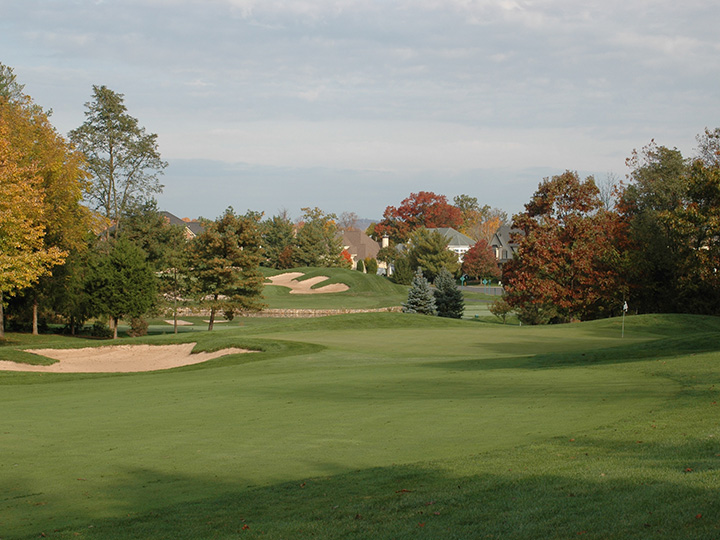
After educating yourself about the road, focus on your own journey in front of you. A straightaway par 4 with bunkers and OB on the right. A good drive will set you up with a short-iron approach shot to a well bunkered green that slopes from left to right.

Playing Tip For Hole 9
Hole No.9 – Bald Hil
An uphill par 4. Stay right of the bunkers and hit your drive to the top of the hill, which will give you a mid-iron second shot. A well-protected green in the front and right provides you with bail out areas long and left. The green is two tiered from lower left to the back right. Take a breather and grab a snack and drink at the half way house next to the 10th tee. You’ll need the energy for the back nine.
Playing Tip For Hole 10
Hole No.10 – Hornets Nest
A long par 4 uphill with a forced carry off the tee. Play to the left of the fairway bunkers, but watch out for OB on the left. You’ll have a mid-iron second shot to a well protected green that slopes form right to left. Hit with enough club to carry the left green-side bunkers and you should be putting for birdie.

Playing Tip For Hole 11
Hole No.11 – Chapin’s Farm
A short and tight par 4 with OB left, leave your driver in the bag. A high lofted second shot is required to a green that is well protected in the front and sloping from front to back. Don’t go too long because it’s downhill and wet over the green.
Playing Tip For Hole 12
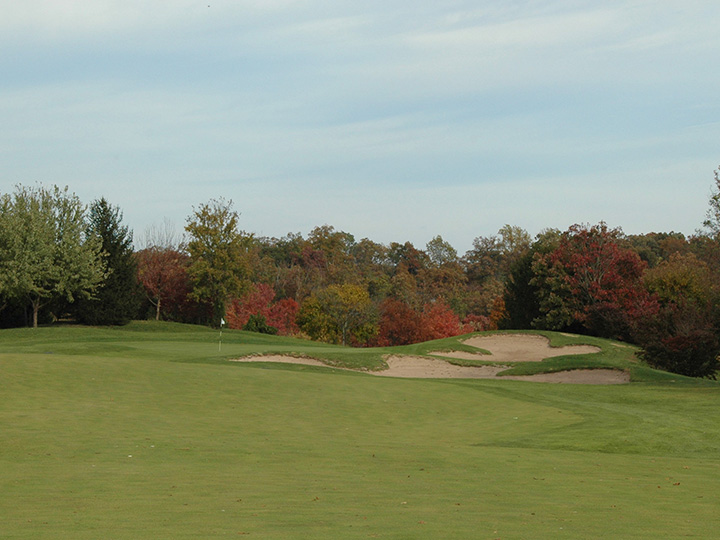
Hole No.12 – High Bridge
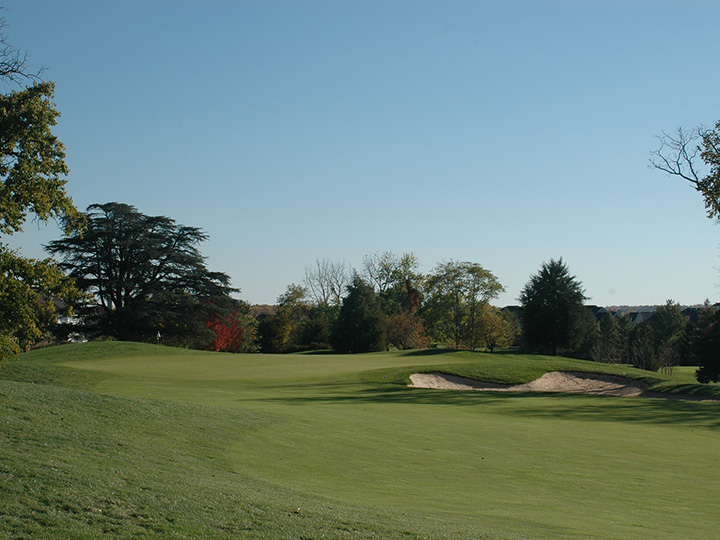
An uphill par 3 with a forced carry to a green with a false front. Avoid the bunker on the right and the drop off on the left. Take an extra club because long is safe. The green slopes right to left.
Playing Tip For Hole 13
Hole No.13 – Traveller
Hitch-m-up! A long par 5 with a forced carry over water. Aim your tee shot at the far right bunkers while avoiding the bunker grouping on the left. Your second shot requires some thought. We suggest you lay up to the right side of the fairway just short of the center bunker. That will leave you with an easier downhill approach shot to a green that is long and narrow sloping from right to left.
Playing Tip For Hole 14
Hole No.14 – Manassas Gap
This short uphill straightaway par 4 requires an accurate drive that is placed between the bunkers on the left and OB on the right. You’ll have a short-iron second shot to a big green that is guarded on the left.
Playing Tip For Hole 15
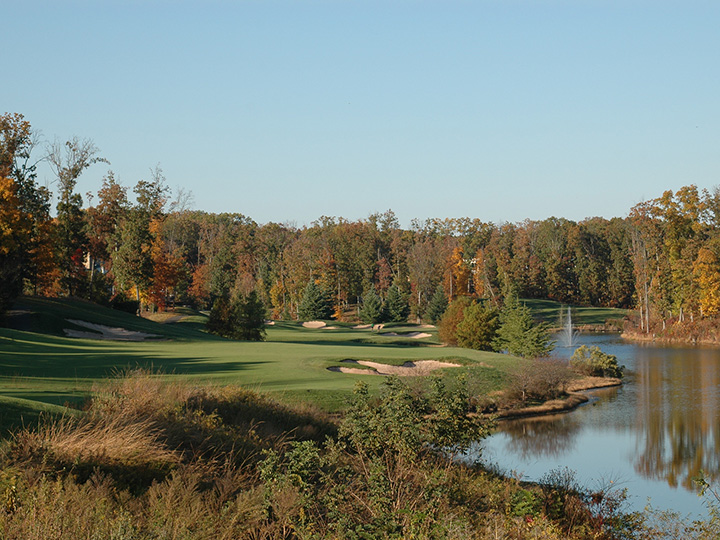
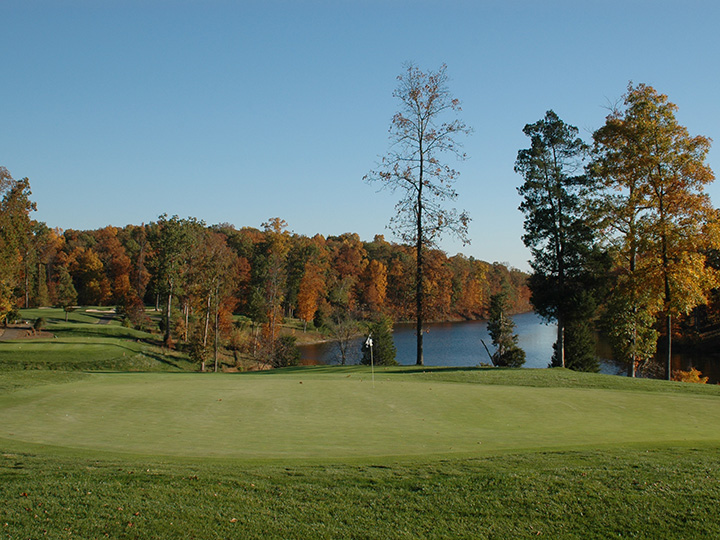
Hole No.15 – Broad Run
That’s the RTJ Course behind you. Now focus on what’s in front of you. A spectacular dog-leg left par 4 that demands a drive over water while avoiding the fairway bunker on the left. Check the breeze off Lake Manassas, proper club selection is a must. The green is one of the longest from front to back with four bunkers guarding the left side. Good Luck!

Playing Tip For Hole 16
Hole No.16 – Devil’s Den
This slight dog-leg left par 4 up the hill requires a tee shot to reach the top of the hill, so you can see the green on your second shot. Just past the right bunker should suffice. You’re then faced with a downhill mid-to-long iron second shot to a green protected with one bunker on the left and grass bunkers on the right.
Playing Tip For Hole 17
Hole No.17 – Seven Pines
No room for error here. Accuracy, height and proper club selection is vital. Take an extra club for the uphill expansive green that is two-tiered, sloping from back to front. Par here and you win the battle!
Playing Tip For Hole 18
Hole No.18 – Fire Eater
Gut check time! After threading your tee shot down the middle, open your eyes; your second shot is just as demanding. The weak of heart should lay up just short of the water, which will leave you with an intimidating short-to-mid-iron approach. The long hitters bail out area is left of an expansive and undulating green nestled out into the lake. Pat yourself on the back. You survived Stonewall. Now, go and tell your friends.